

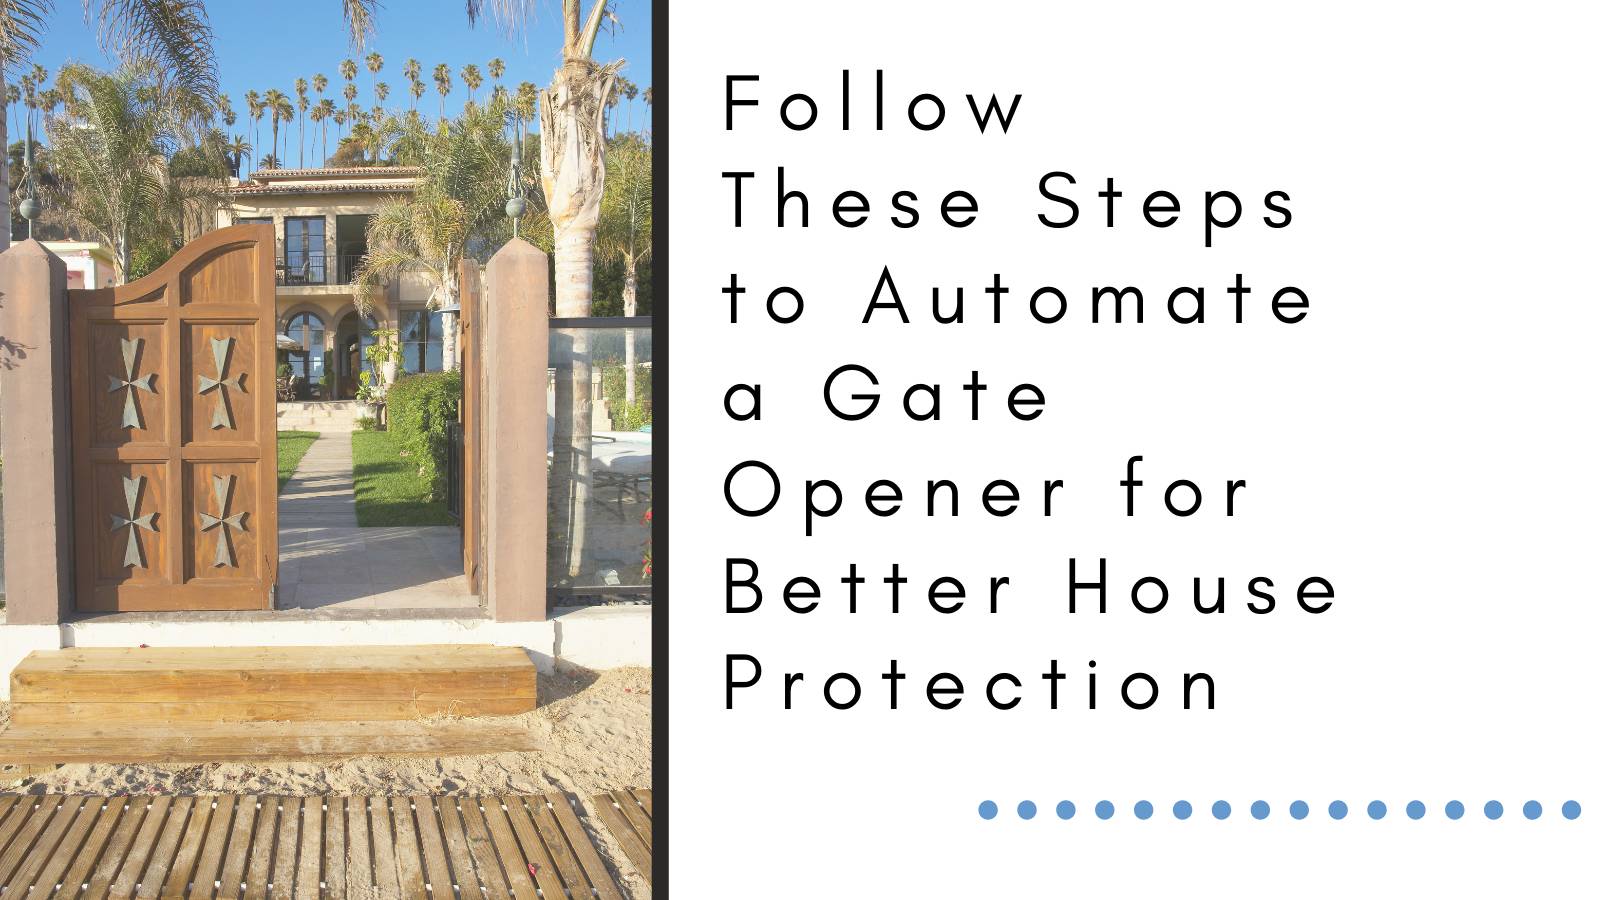
Have you seen those gates that open and close automatically? They are efficient and look good. None more excellent method to impress your friends and acquaintances than the automation of your home. These gates also add some protection from intruders and trespassers.
Are you interested in automating the gate of your property? Some people wonder whether it is convenient to do it. You need to invest time and money to automate your gate. It is a fascinating DIY project, though. Moreover, an automated gate has the following benefits:
House Protection. People allowed to enter your house don’t need a key that can be lost or stolen;
Cost. Contrary to popular belief, automated gates are not so expensive. There is a large selection of actuators to implement such a project. Hence, you can find a solution within your budget;
Aesthetics. An automated gate gives your house an air of sophistication and modernity;
Convenience. Going without your car to open and close the gate manually can be annoying. This is particularly true in heavy rain.
Because of all these benefits, automating the gate of your house is worthwhile the effort. Do you want to do it on your own? Then, follow these simple steps.
1. Make Sure the Gate Works Properly
That may appear innocent, but first, you have to verify that the gate works flawlessly. Make sure the entrance is level, has no damage, and swings freely. If there are some malfunctions, repair them before you start with the project.
2. Find a Place for the Gate Opener
You can choose any location for the gate opener. However, that must place inside your property for safety reasons. To avoid excessive stress to the gate, try to identify the gate opener as close to the centerline as possible.
3. Install the Structure that Supports the Gate Opener
This is referred to as the post bracket assembly. You have to connect the gate opener to this structure. Then, you connect the gate bracket to the gate opener. To do this, the gate must be open, whereas the opener arm must retract. Make the necessary adjustments to all these components until the opener is level.
4. Install the Opener Arm
When you mount the opener arm, you must make sure it is level. Make all the necessary adjustments to ensure this condition.
5. Install the Control Box
If you opted for a gate opener with a control box, things would be much more comfortable. It would help if you mounted it. Make sure it is above the ground and not too close to power sources.
6. Connect the Wires
When the control box is in place, you have to connect all the wires that power the electronics. Follow the wiring design that begins with the instructions.
7. Make the Final Adjustments
Test the gate opener. If it works, then you need to make some final adjustments such as the auto-closing time. You can make these adjustments with the help of the manual.
Leave a Reply

Stay connected